After completing my spline modelled face, I found that the topology of the shape of the face was acceptable, but the topology was not, with the face consisting of alot of pulled verts and a few triangles. This topology was hindering me in trying to add necessary detail to the face in order to make it look realistic.
As well as this, my character body was roughly modelled, very square and was not modelled with my characters face in mind, meaning the two did not fit together well when attatched.
Because of these two problems and with the advice my tutor, I began creating my character again
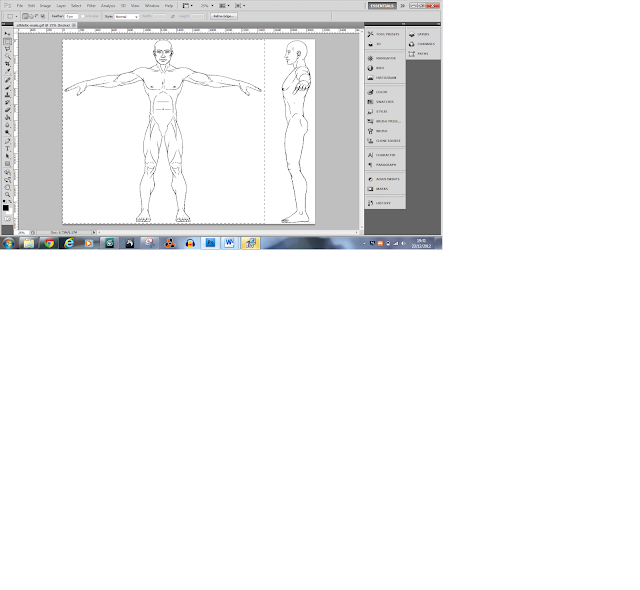
In order to get the body shape of the character correct, I downloaded a blueprint of a human male and cut it up in Adobe Photoshop. I did this by cut out each view and putting them in separate layers on a square canvas.

I then put these blueprints on to two 100 x 100 planes in 3ds max and froze them.
Before starting this model, I edited my viewport views to two side by side viewports one showing the front view, the other the left.
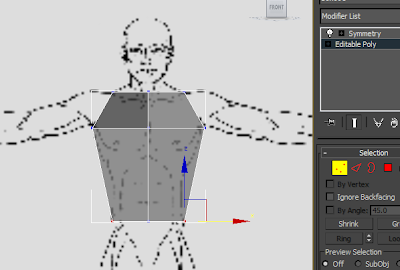
For this model I used the box modelling technique. I began by creating a box in the side view from the shoulders down to the waist. To save time editing both sides, I used the connect to create a vertical line down the middle of the box. I then deleted one half and added a symmetry modifier.
I added a another cut along the vertical of the box and used the connect settings to raise the line to around the armpit on the blueprint. I then began manipulating the verts inwards in order to create a basic shape of a torso.
From here I used the side polygon I created and extrude it out a little and then again up to the elbow and finally upto the wrist.
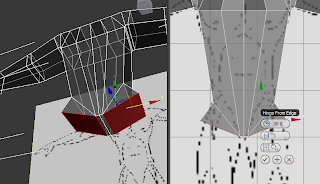
Using the connect tool I then created another vertical edge down the body. I moved the verts at the bottom close to the middle line to emulate the groin. This would give me the geometry and polygons I needed to begin the legs. Instead of using the extrude tool, I used the hinge from edge tool and chose the inside edge and used the settings to about 30 degrees creating a diagonal line and then again to create a straight polygon.
I now set up the bottom polygons to be extruded in order to create the legs. I used the extrude tool and extruded the polygon down to just above the knee, then again to the bottom of the knee and finally to the ankle. IN order to create verts for the calf, I used the conect tool to create an edge in between the around the leg in between the knee and the ankle. I used the the parameters within the connect tool to line it up with the widest part of the calf.


No comments:
Post a Comment